I was having dinner with a friend of mine when he went to show me a picture of something on his phone — and I noticed his recently purchased iPhone 6 turned into an iPhone 6S Plus, so I asked him why he changed devices.
Long story short, he left his phone on the roof of his car when taking his kids to school and lost it entirely.
Huge bummer, but the biggest blow is what he told me next: he had backed up literally nothing that was stored on the phone, including photos and videos (especially the ones he took of the house his kids grew up in, as they moved to a new town).
The thing is, this doesn’t just happen to photos on your phone, even though that seems to be the most likely scenario. All types of devices have issues, from hardware failure to theft. Your home computer might not be as stable as you think it is, and your wedding photos you just downloaded from your photographer might end up gone forever unless you take the right steps to protect them.
So here I am, writing a guide to making sure you don’t end up like my friend in any scenario, and that you keep your photos safe.
THE BASIC STEPS IN BULLET POINT
Here is how you protect all those photos and videos you cherish, and want to cherish forever, in order of ease:
- Cloud Backup (Google Photos, iCloud)
- Local Backup (Desktop, Laptop)
- External Backup (External Hard Drives)
- Printing/Albums (Self Explanatory)
The key to keeping your photos safe is to have multiple copies of your image files in multiple places. Redundancy is the goal.
Let’s take a closer look.
CLOUD BACKUP
The easiest thing you can do to keep your photos safe is also the most hands-off. Using cloud (internet-based, meaning your files are stored online) backup services like Google Photos, iCloud, or DropBox can give you peace of mind for the least amount of effort.
I recommend Google Photos over the rest, but they all work similarly, and each of them have low-subscription costs (in Google Photos’ case, free. More on that in a bit). [Side note: Google actually just released an app for desktops called Backup and Sync that backs everything up for you if you pay for enough space. This is incorporates Google Photos when you’re using it from your computer.]
Google Photos is an invaluable mobile app that will backup your photos and videos for free (at high resolution, not raw, but you can pay for raw) with unlimited storage. That’s right, unlimited. All your photos, safe. All your videos, safe. High resolution. For Free.
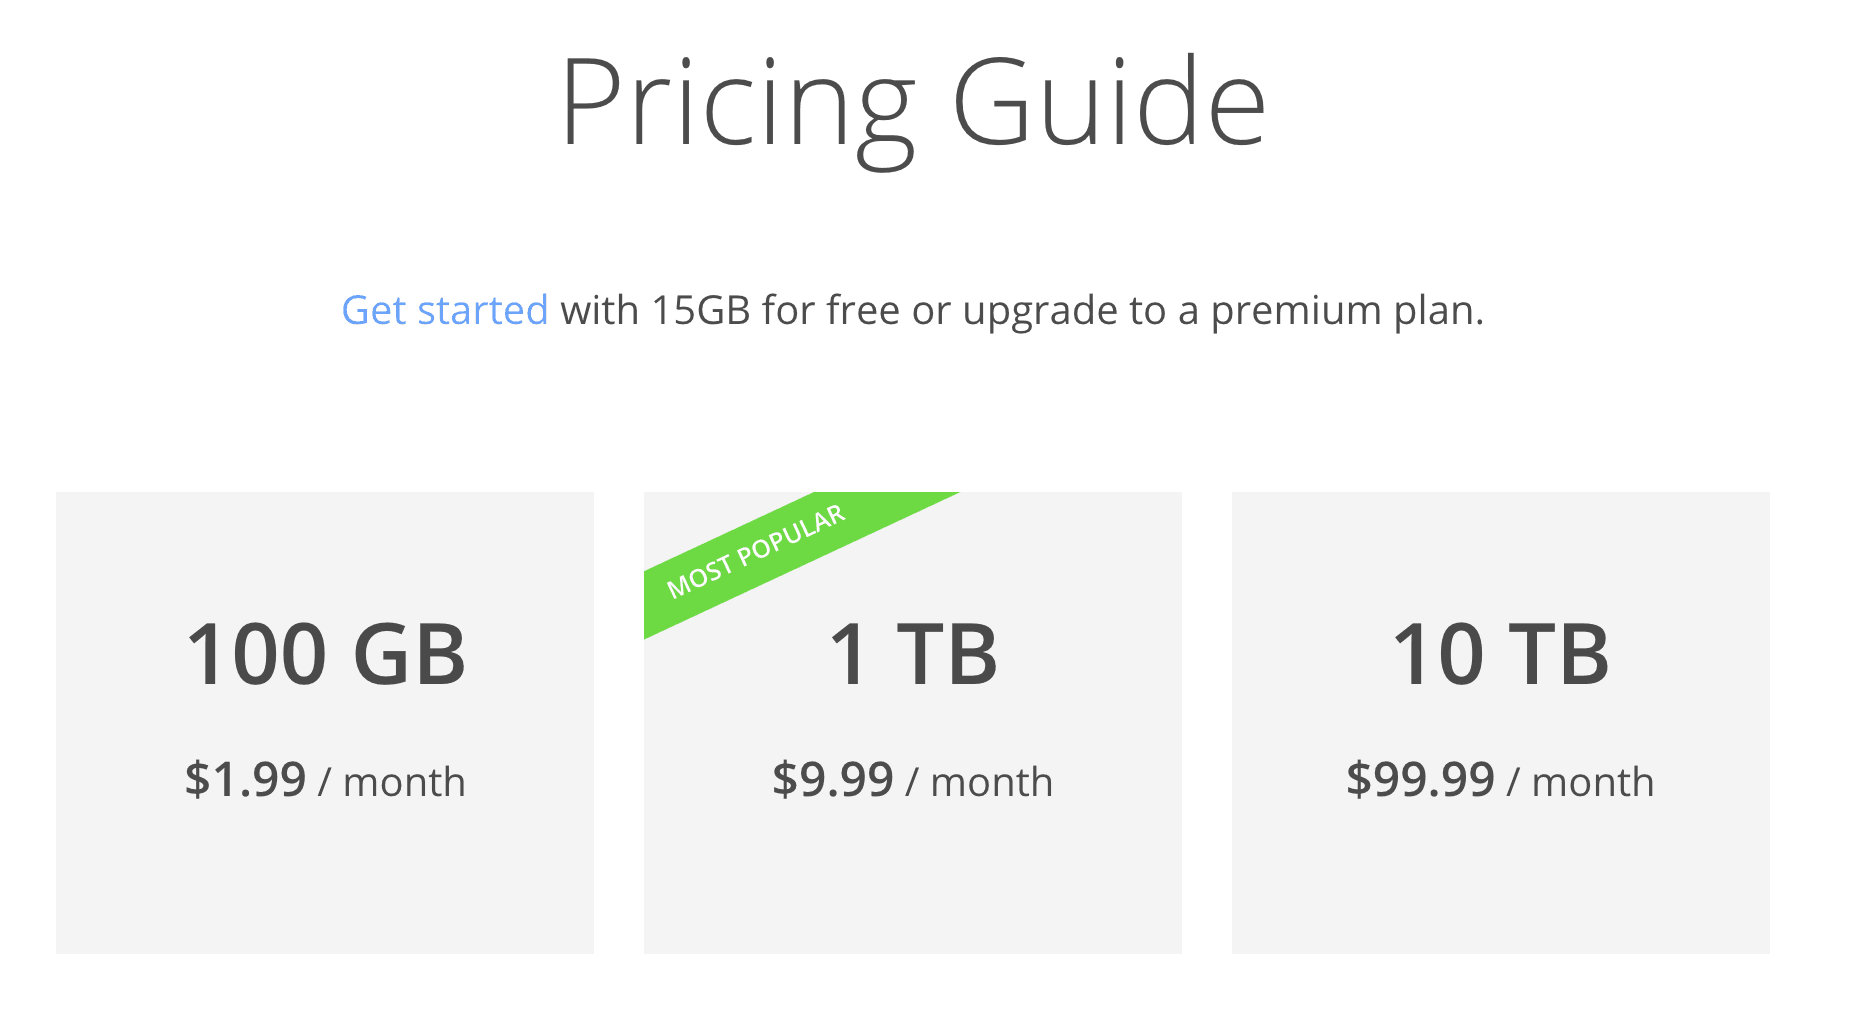
Here’s how the pricing shakes out for Google Photos at the time of writing, if you want to store full resolution photos (high resolution is free): (Note: If you pay for Google Photos storage, this also counts towards your Google Drive and the new Backup And Sync desktop app)
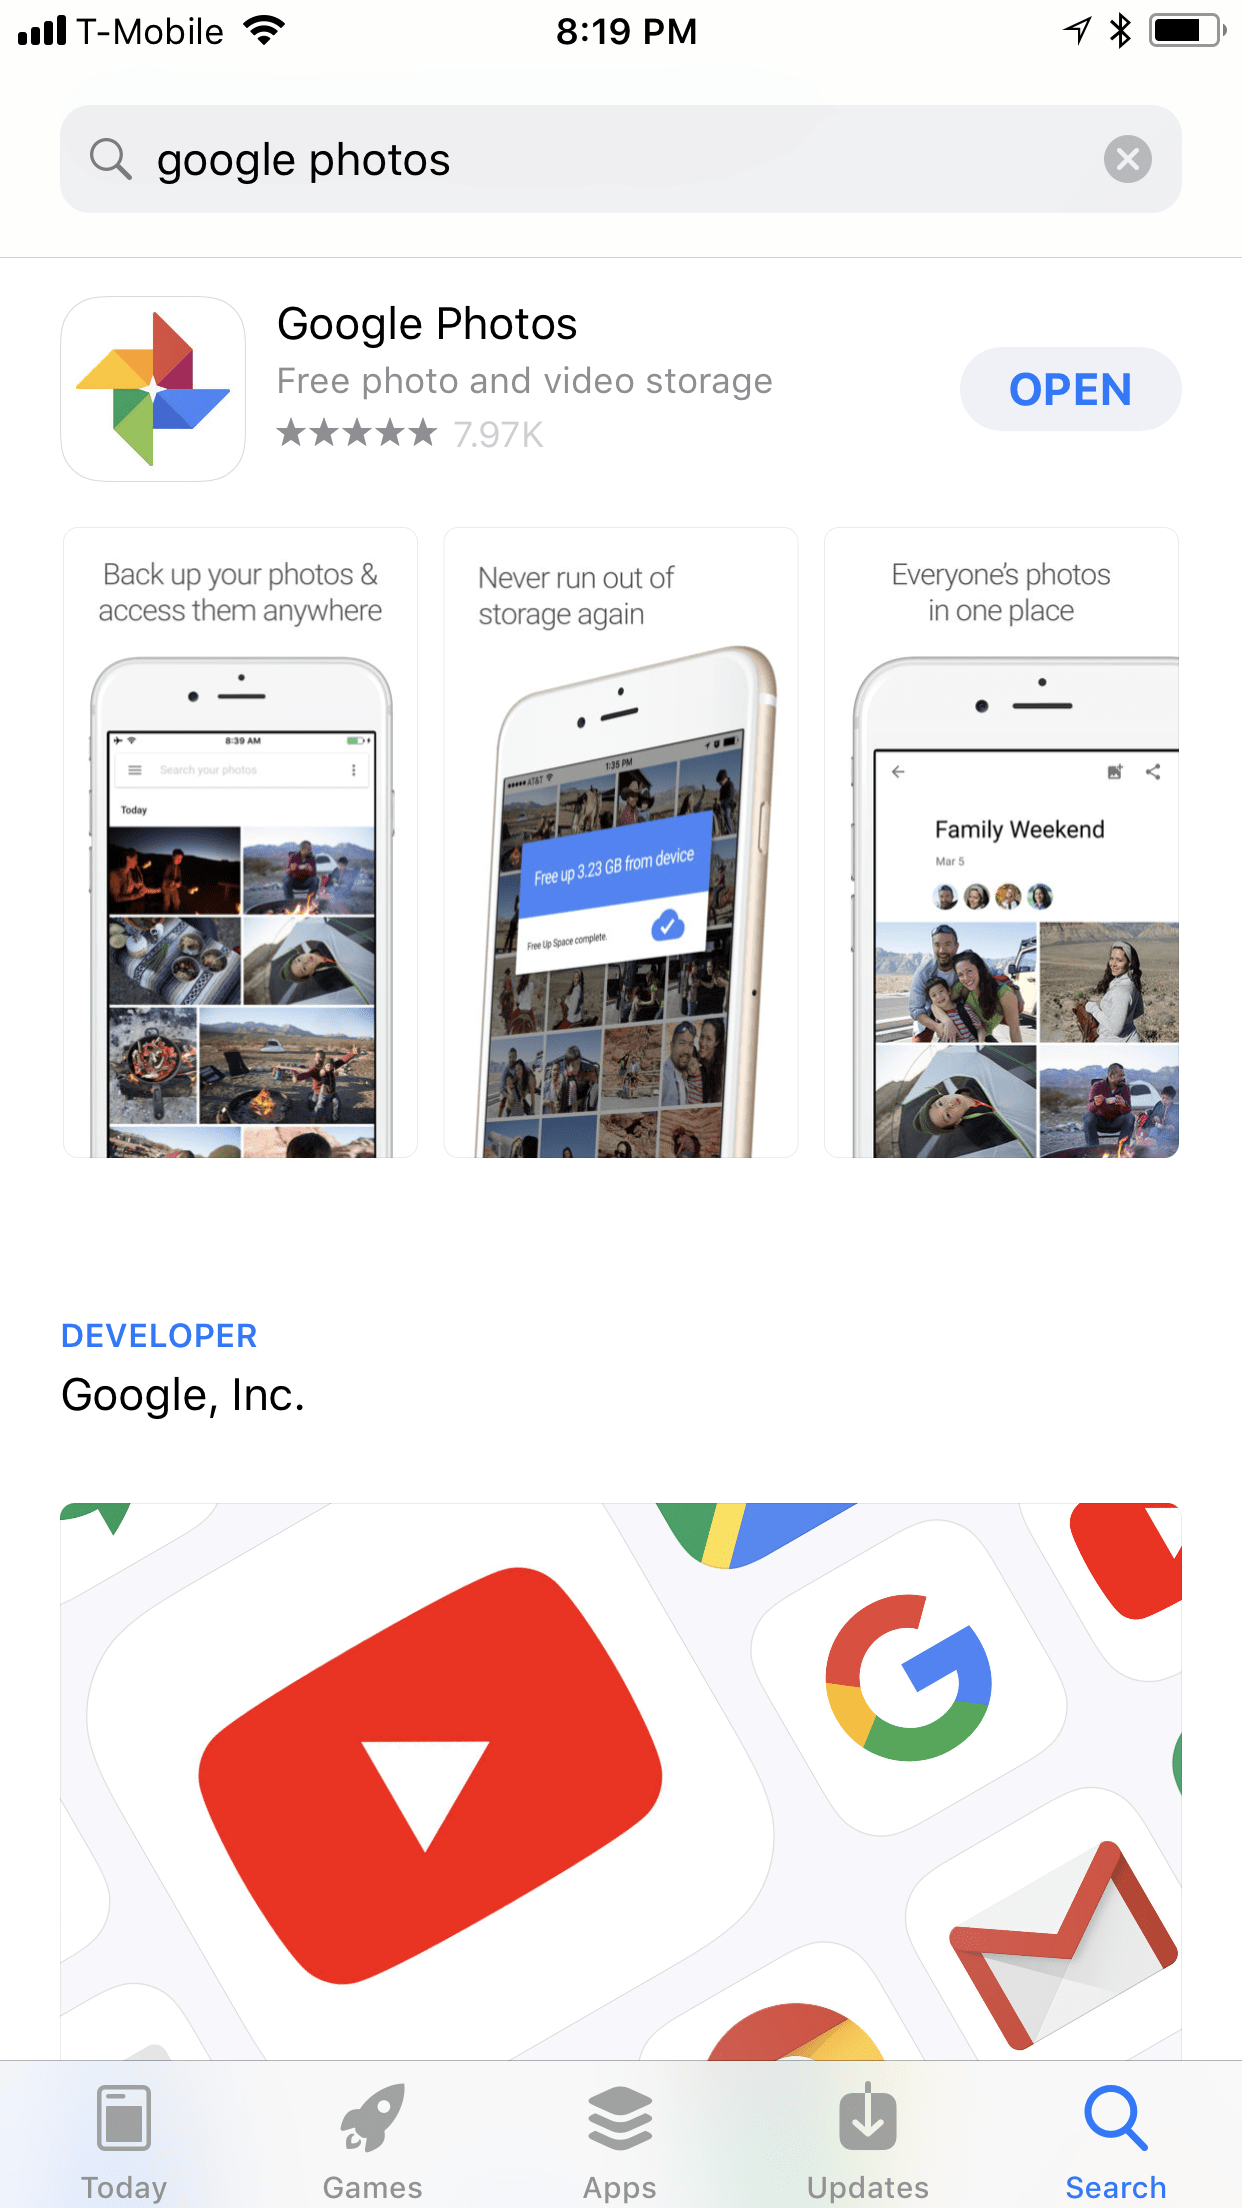
To setup Google Photos on your iPhone or Android device:
- Download the Google Photos app from the iOS App Store or Google Play Store, or click here.
- Give it permission to access your photos, then decide if you want it to upload only over WIFI or both WIFI and Cellular (nice for unlimited data plans).
- Then, it starts to automatically upload for you, saving your photos to the cloud.
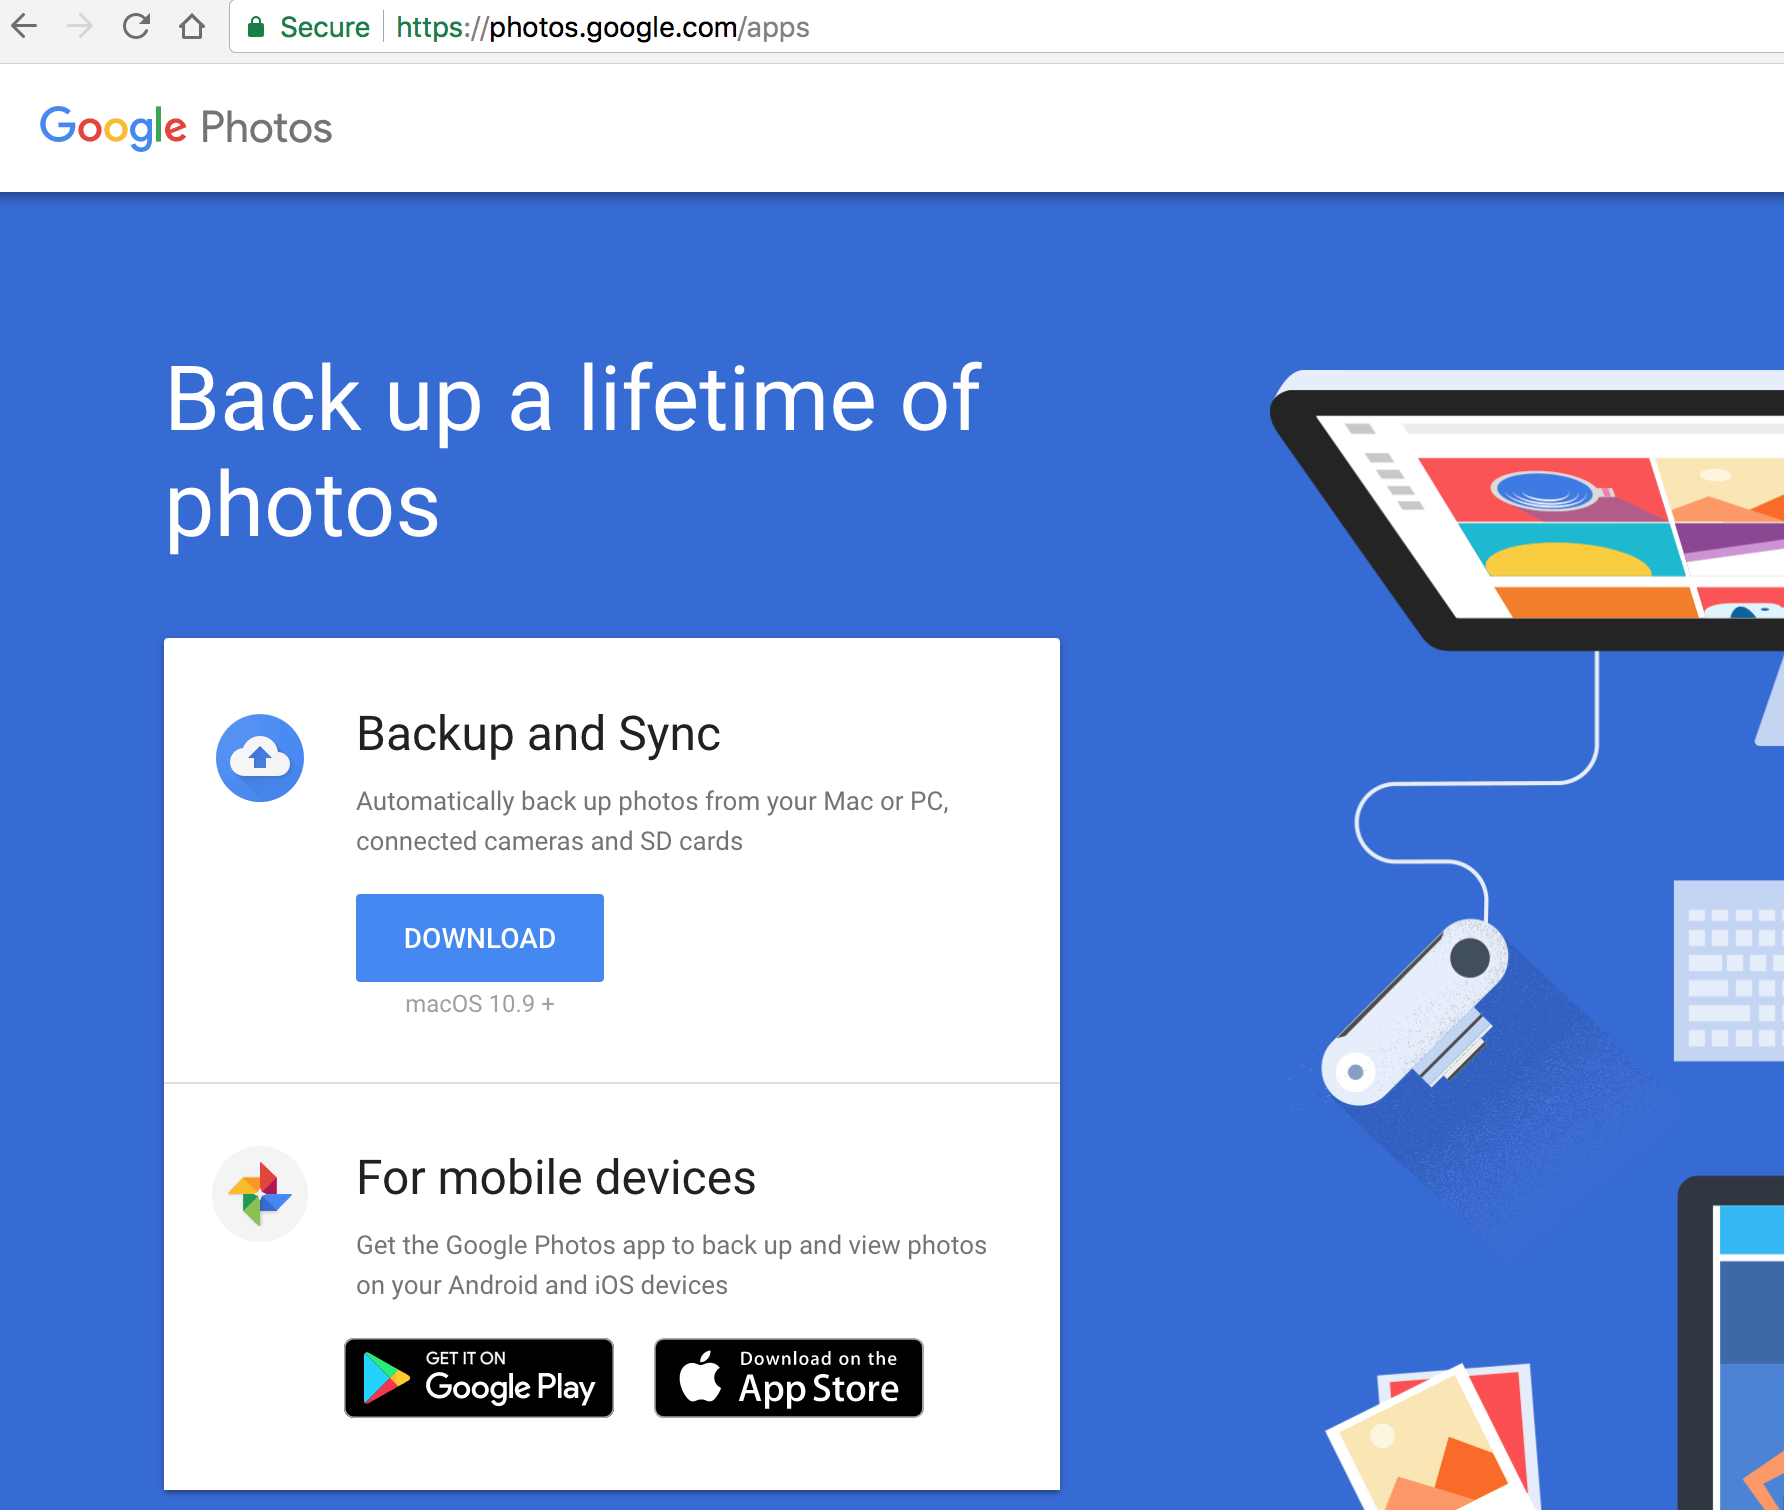
To setup Google Photos on your Mac or PC:
- Go to: https://photos.google.com/apps
- Download Backup and Sync
- Move it to your Applications Folder
- Open App
- Follow the instructions to choose your settings.
- NOTE: You can use this app to automatically upload everything from your desktop if you pay for enough storage. All of your files, not just photos. I do, and it’s awesome.
If you’re on Android, you can have the Google Photos app auto-backup every time you take a photo. On iOS, you have to open the app and leave it open while it backs up all the latest shots you took. You can do this while your phone is charging, or just keep checking back on it periodically.
The more often you do this, the fewer images and videos it has to upload, so the faster the process.
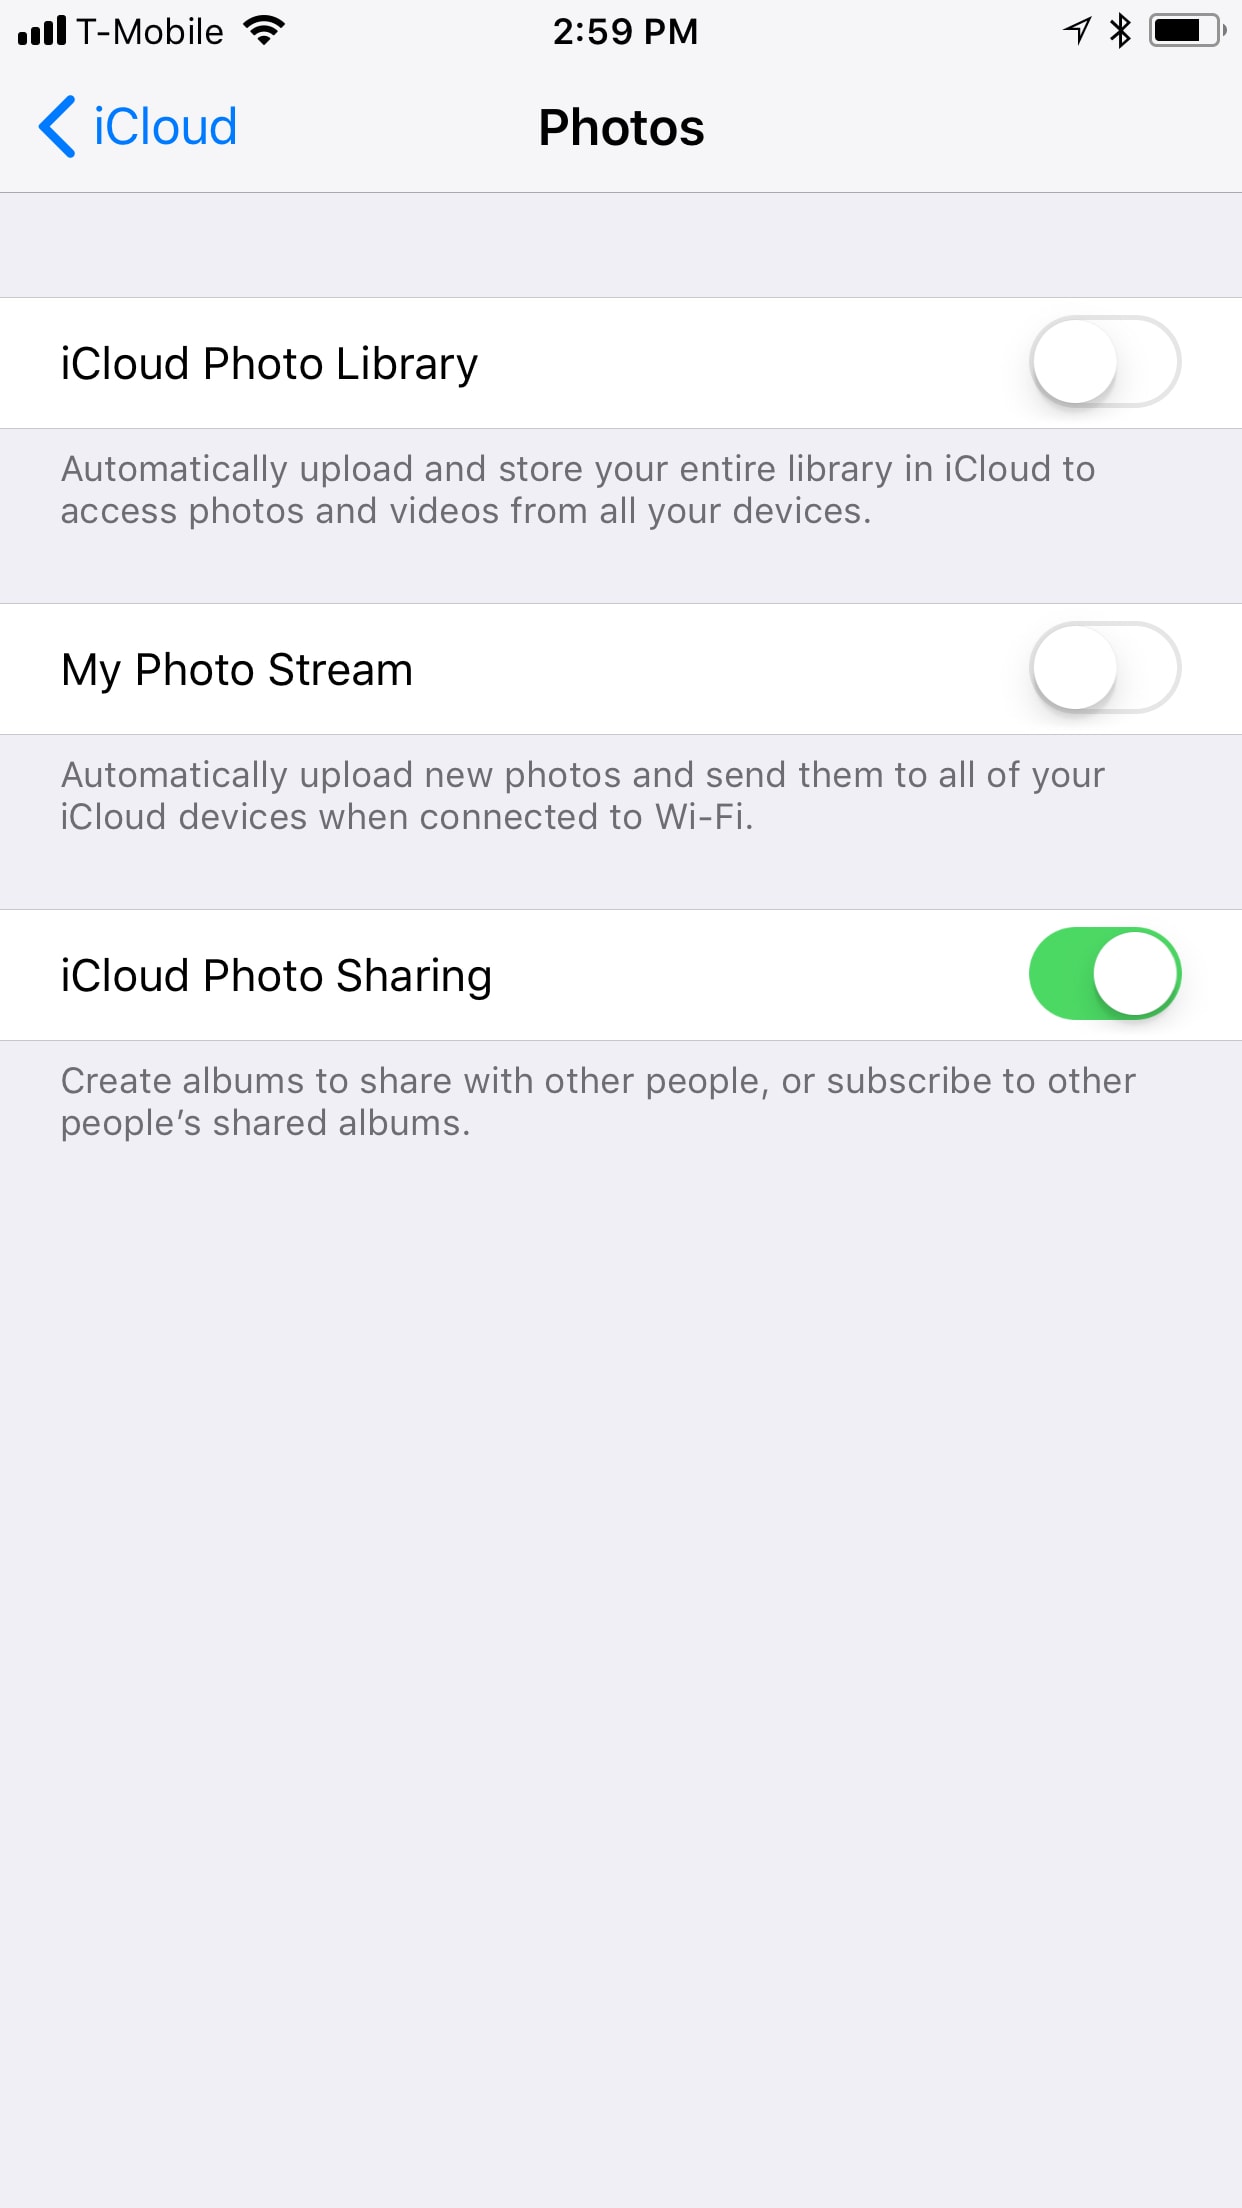
I should also mention there could be one more hiccup if you’re on iOS. There’s a possibility that you’ve set up iCloud for your photos already (even mindlessly turning it on to clear up space), and some of the images on your phone are being displayed from iCloud and not from on your device. Google Photos will not back those iCloud photos up, so you’ll need to do this:
- Settings
- [Your name at the top of the screen]
- iCloud
- Photos
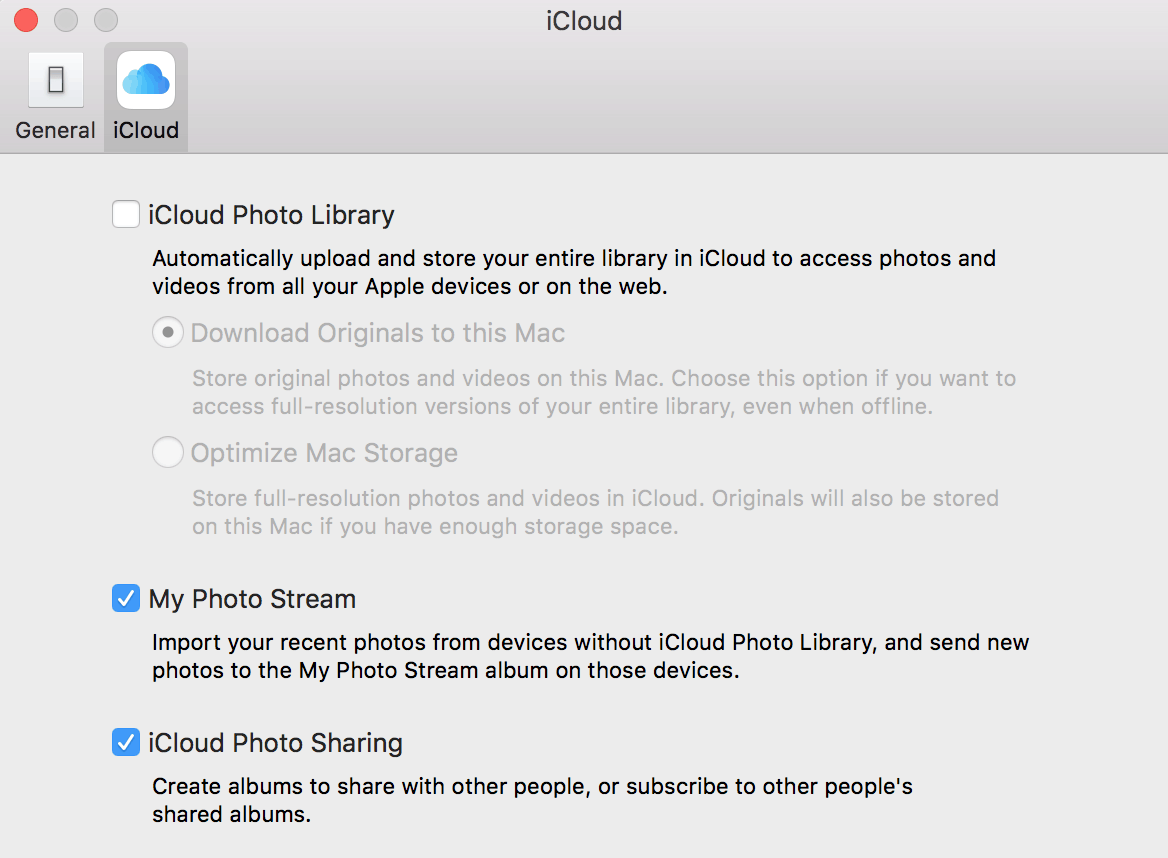
- Select “Download and Keep Originals” if you see that your iCloud Photo Library is switched on (below, shown switched “off,” and therefore no need to worry)
From there, Google Photos will backup everything, keeping your photos safe online.
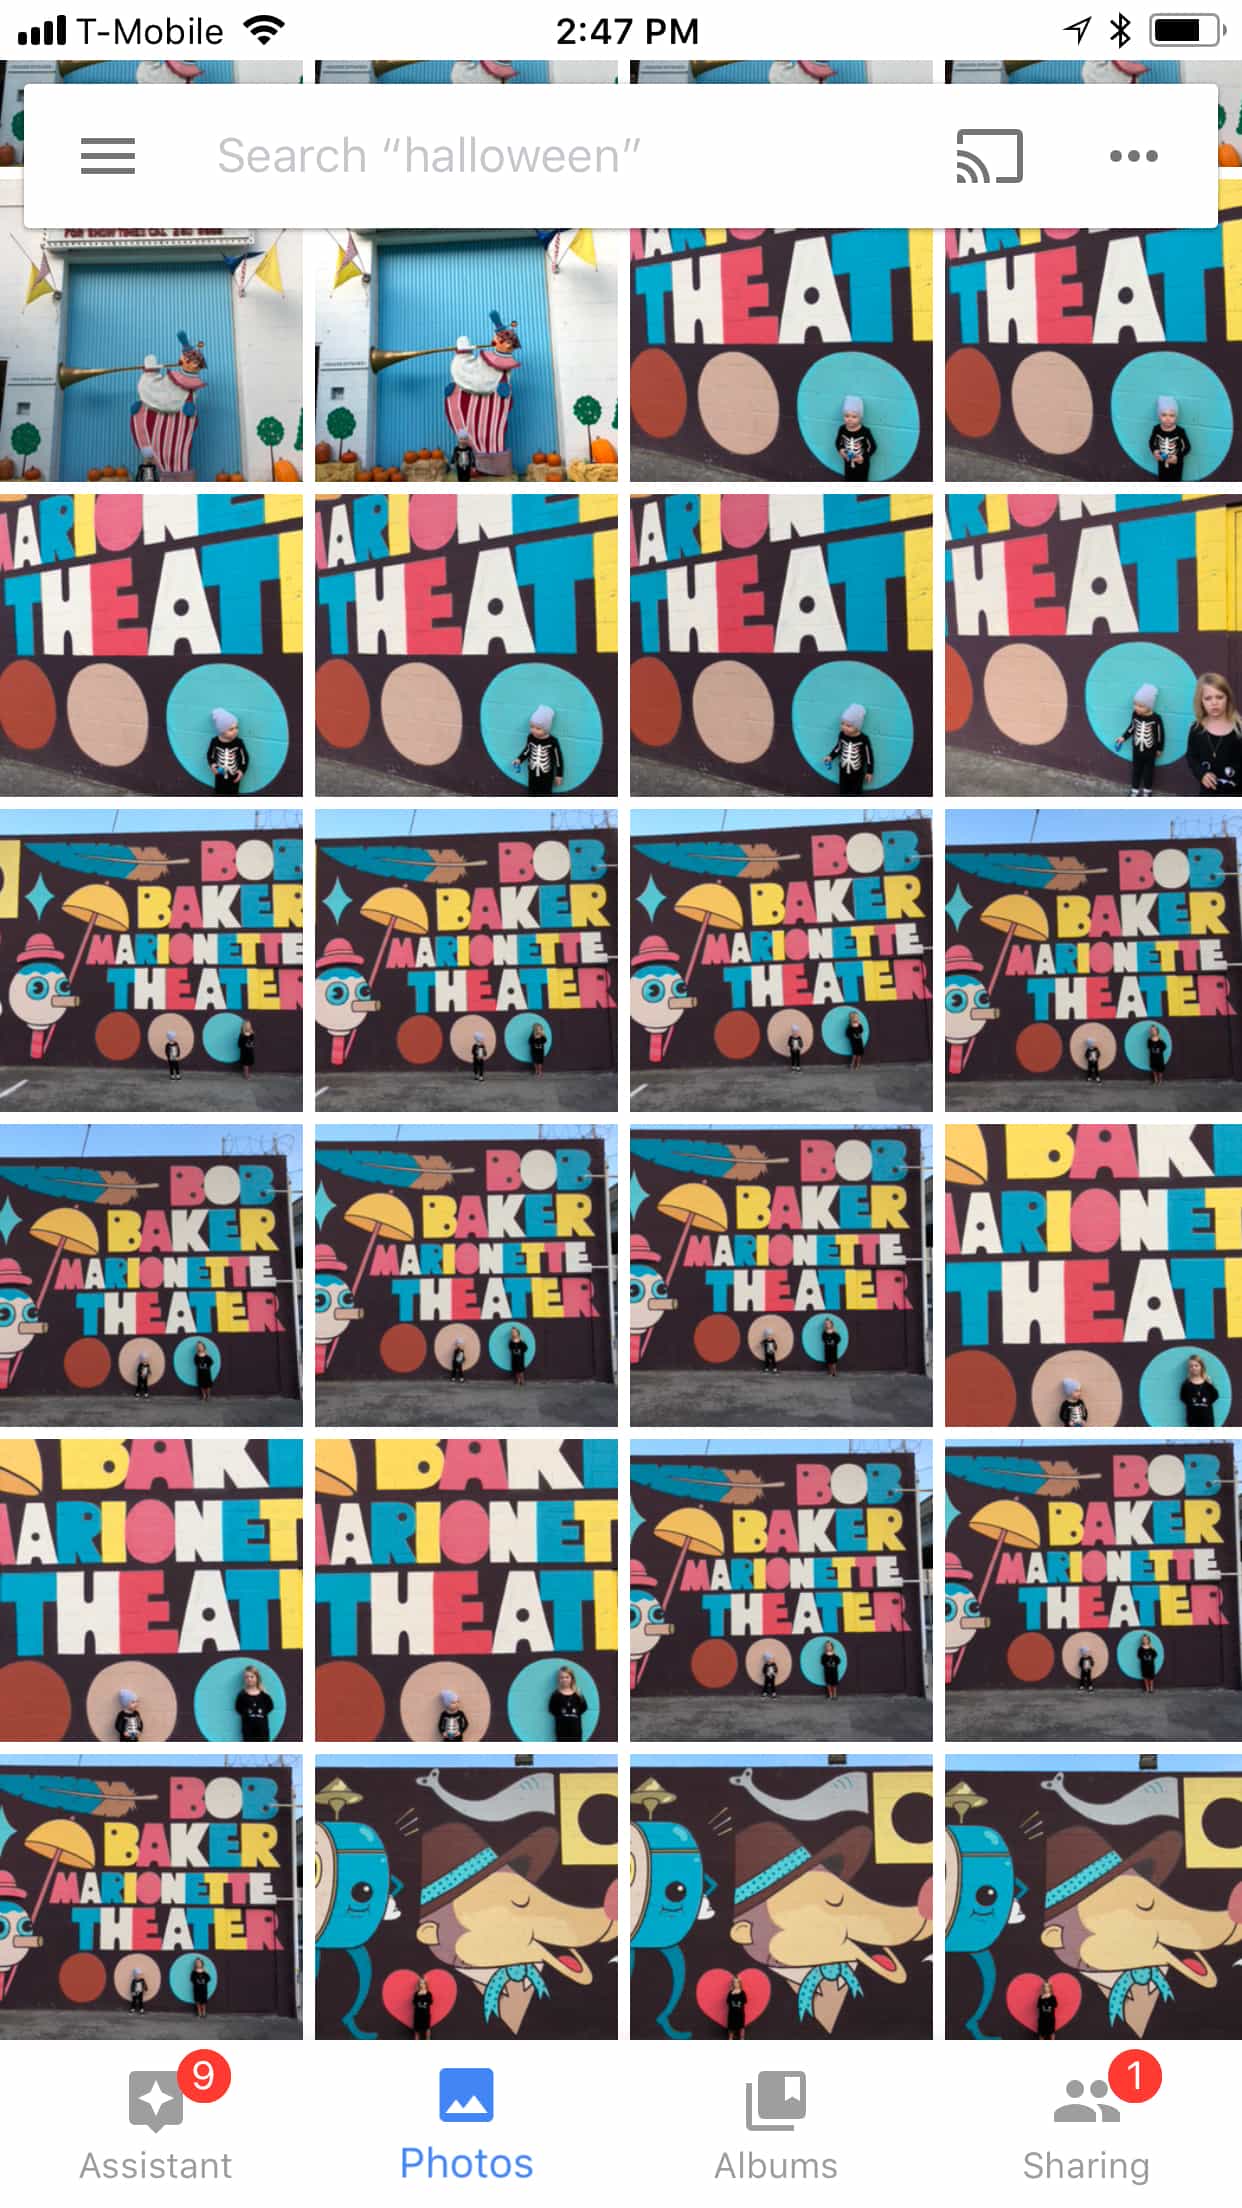
The other two perks to Google Photos is the ability to free up space on your phone with a tap of a button — it will recognize what photos it has already uploaded and delete them off your phone — and search. Using Google Photos to search is downright scary. It knows everything from faces and names to locations and objects. Search for “bridge” and it’ll instantly show you all the photos you’ve taken with bridges in them. (Google will also auto-build albums and slideshows for you, but iOS does that now too.)
As far as the seamless uploading goes, iCloud works similarly to keep your photos safe, but you have to pay for it past 5gbs. But it works. What iCloud lacks is the search feature. All-in-all, you get more bang for your no-bucks with Google Photos, and I recommend it to everyone. There is no reason not to, especially when you’re using their free unlimited storage.
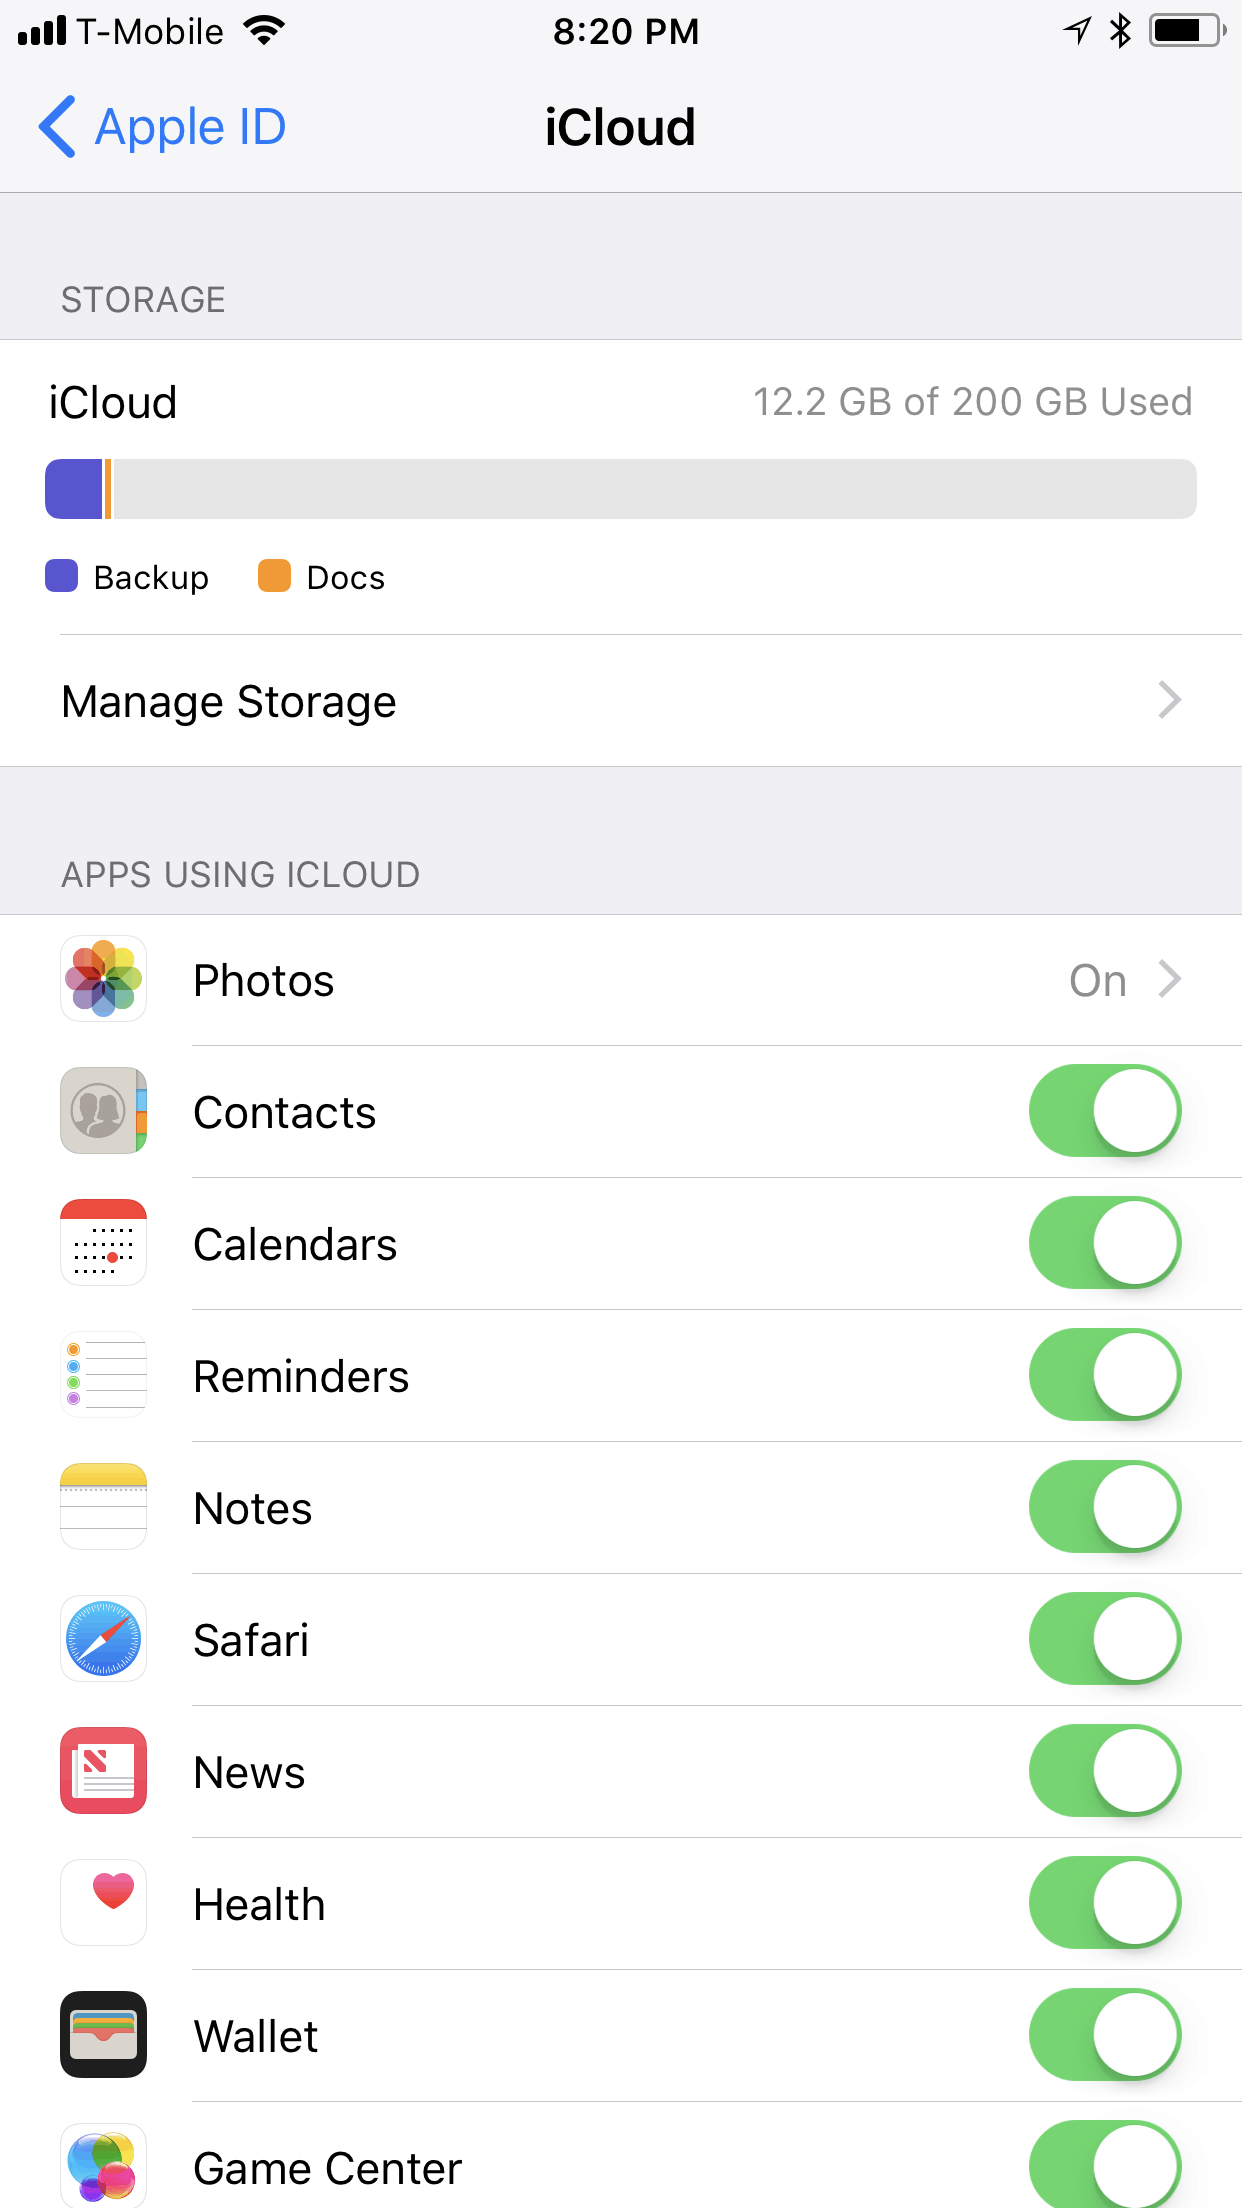
How to setup iCloud Photo Storage on your iPhone:
- Settings
- [Your name at the top of the screen]
- iCloud
- Photos
- Switch it on.
- Choose whether or not to optimize your storage (as each photo or video is uploaded, a version is saved on your device that takes less storage) and keep originals on your device (iCloud will both upload your photos and keep the originals stored locally on your device).
How to setup iCloud Photo Storage on your Mac:
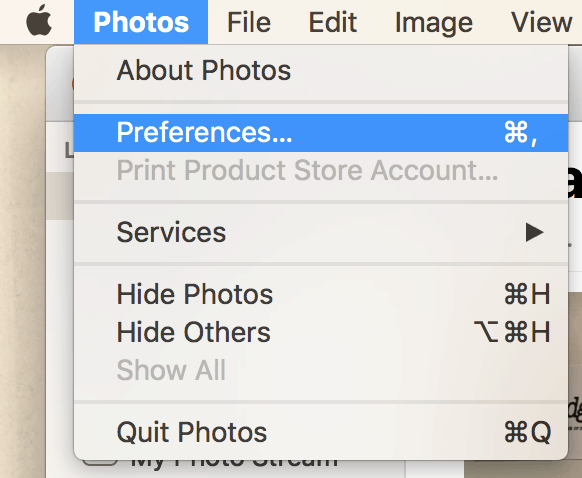
- Open the Photos App
- Photos > Preferences (Pic Below)
- iCloud
- Check iCloud Photo Library
- Choose whether or not to optimize your storage (as each photo or video is uploaded, a version is saved on your device that takes less storage) and keep originals on your device (iCloud will both upload your photos and keep the originals stored locally on your device)(Pic Below).
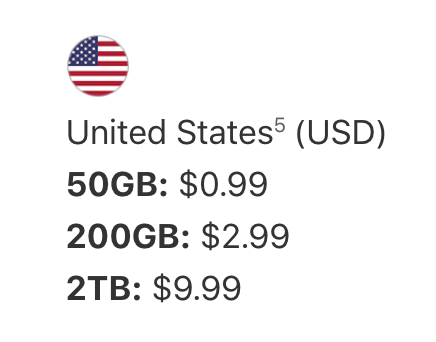
Here is how the pricing shakes out for iCloud at the time of writing: (Note: Your iCloud storage will also store your full phone backup, contacts, and more if you want it to, but that will count towards the space you have for your photos)
You get more storage than Google for your $10 a month, but you also get something that isn’t nearly as robust and handy when it comes to searching. If you’re an iPhone user, but have a PC, Google will be your most seamless option for keeping your photos safe (and videos!).
Finally, one of the biggest perks to cloud storage, no matter what service you choose, is that you can access your photos anywhere. You can see all your pics from your computer, your phone, when you’re traveling, if you need to replace a device… anywhere.
And hell, you could sign up for multiple cloud storage services if you want, you know? Do both Google Photos AND iCloud. Use Google Photos for their free unlimited high-resolution storage, and then pay for iCloud’s full resolution storage. It’s nice to have the options, and overkill is never a bad thing when it comes to your memories.
LOCAL BACKUP (Phones, Flash Drives, Discs)

Are you backing up your phone to your computer? How about that flash drive your wedding photographer sent to you? Or, if you’re from 2010, the DVDs with the pics from the birth of your first born? Saving pictures directly to your desktop or laptop?
You should be.
I know it’s a pain, probably because you usually don’t remember to do it until you’re out of space or something goes wrong. Then you have to leave your phone connected to your computer while it does its thing.
If you have a disc with images, or flash drive, just insert them into your home computer the moment you get them and copy it all over to a folder on your desktop. Then store the original copies somewhere safe.

For your phone, just get into the habit of connecting it whenever you sit down to work, check Facebook, or buy unnecessary things from Zulily. For iOS/Mac users, you can do this through iTunes and store a complete backup of your phone, or you can use the already installed Image Capture app to just backup your photos to whatever folder you wish. You also have the option of syncing to the desktop Photos app, which will also have whatever you’ve stored in iCloud as well.
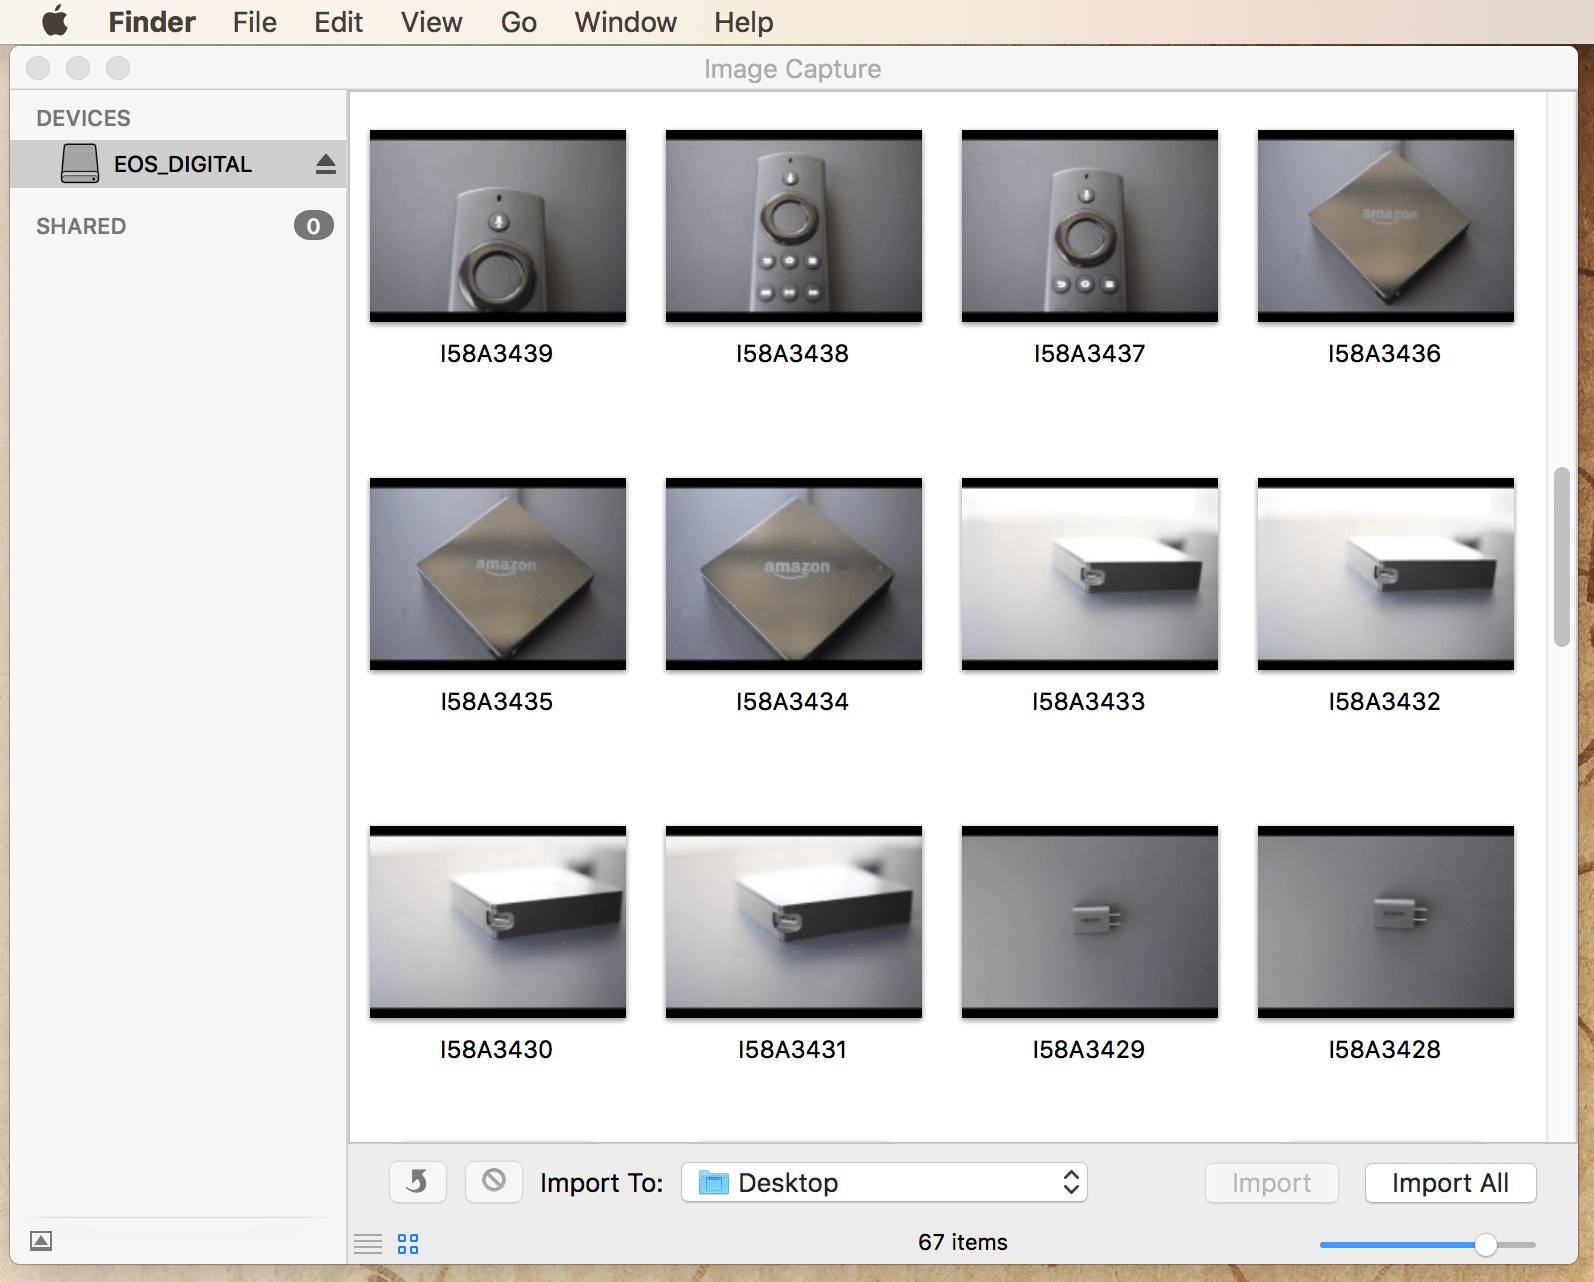
To use the Image Capture App (Mac):
- Applications
- Image Capture
- Select your iPhone under “Devices”
- Select a location to save the images and videos, or create a new one (drop down menu at the bottom) in Import To field
- Select All, or manually select the images you want to back up
- Click Import All, or Import (if you manually selected)
- Check the folder to make sure they made it.
For Windows users, things aren’t quite as seamless, but it works in similar ways. When you connect your phone (if it’s an iPhone, you can still use iTunes), you’ll have to find your way to the photo contents on the device and move them into a folder for safe keeping, or follow these simple instructions from Microsoft: link.
It sucks, but do it. It’s a necessary step to keeping your photos safe.
EXTERNAL BACKUP (ALL PHOTOS)

This isn’t just for those photos and videos from your phone, but rather all the photos and videos you have. That includes photos sent to you by others, photos downloaded from the internet (work photos, cloud photos, memes), or extremely important professional photos, like family sessions, weddings, engagements, or anything a photographer sends you that you paid for and/or has meaning to you.
This is the extra step beyond the last one in keeping your photos safe. First you backup locally to your computer (as per the previous section), then you need to buy an external hard drive (any from Amazon will do, and should cost you less than $100) and copy that folder to it. Just drag and drop. Then you physically keep that external hard drive in a safe spot — like a fire safe, or somewhere it won’t be damaged or stolen, and only bring it out when you back up.
Here are the steps for backing up to an external hard drive:
- Purchase external hard drive(s)
- Connect drive to your computer
- Open the drive on your desktop, create folders to help you keep organized (Example: Photos, Videos, Documents)
- Locate the files, images, and videos you want to keep safe
- Drag them to their appropriate folders you just created on your external hard drive
- Once finished, open each folder on the external hard drive and verify everything transferred OK
- Eject your external hard drive properly, DO NOT just unplug the device
- Store the drive physically somewhere safe and only use it when you back things up. DO NOT leave it connected to your computer. DO NOT give it to your toddler.
Doing it this way is different than, say, using the Mac’s Time Machine feature, which backs up your whole computer to an external drive. This method is purely for manually transferring folders and files to the external drive for safe keeping.
If you want to be extra safe, do the same exact thing to a second external drive, just in case one of them fails. Keep them separate.
If somehow your computer still has a disc drive, burning the files to DVDs can also be a way to keep your photos safe — it’s just a really old school way of doing it at this point and there are much easier ways to achieve to same thing (flash drives, external drives). Plus, there’s no guarantee disc drives will be readily available to you in the future (and I feel like it’ll be easier and cheaper to buy a dongle for outdated cables than entire disc drives).
PRINTING/ALBUMS

Ah, the option that takes the most effort, but gives you the most beautiful and truly safe results.
Order prints of the photos that mean the most to you. Buy either loose prints and keep them somewhere safe, or build amazing and gorgeous photo albums and keep them on a bookshelf, coffee table, or climate controlled storage unit under 24/7 armed guard — whatever.
This isn’t really protection against fires, but it’s protection against hardware failures, accidental deletion, and hacking — and it’s an incredibly beautiful way to keep your most important photos safe. If we’re talking wedding photos or any other photos in which you’ve hired someone to capture a special moment, ask the photographer if you can purchase albums through their services. It might cost more on top of what you’re already paying them, but most will put the album together for you (after you choose which pics you’d like to be included) and order it from professional album-makers, so it’s worth the cost.
Otherwise, you can find plenty of online services to do it yourself, like Shutterfly, Snapfish, or ArtifactUprising.
Then put your albums on your bookshelf, keep your prints in frames or storage boxes, and be happy they’re there if you need them.
But don’t forget about using the cloud in case your house burns down.
IN CONCLUSION

I hear the regret all the time. My friend who left his phone on the roof of his car is not an anomaly. Things happen all the time to phones, computers, hard drives, and even houses.
Having redundancies is the only way to make sure you’re truly keeping your photos safe — and your videos, too. You’re putting the effort into capturing these moments. That effort includes time, money, and energy. Having it all be for nothing just seems wrong.
The length of this article might be a lot to swallow, but needed to be incredibly comprehensive. So, to make things as simple as possible, here’s what I personally do as a solution:
CLOUD STORAGE:
- Google Photos (Free Unlimited Storage) on Mobile
- Open the app and let my week sync every Sunday while I watch TV
- Google Backup & Sync (200gb paid) on Desktop
- Constantly backing up in the background while I work
- iCloud (200gb paid, $2.99/mo) on Mobile
- Backs up important phone things in the background
LOCAL BACKUP:
- Photos/Video Folder On Desktop, Using Image Capture
- Twice a month
- iTunes Sync Backup
- Almost every time I sit down to work
- Tip: If your computer is seemingly always running out of space, go in and delete old iPhone backups made with iTunes. It could clear up massive amounts of space, and you only really need one or two backup files for emergencies.
- Almost every time I sit down to work
EXTERNAL:
- (1) 500gb External HDD Time Machine Backup
- Whenever my MacBook Pro warns me it’s been a while since I’ve backed up
- (1) 2tb Western Digital External HDD
- Every time I backup locally (previous section)
PRINTING/ALBUMS
- My wife, Heather Kincaid, is a photographer. She also supplied some of the amazing photos in this article, along with the inspiration for it. We try to build and order a special album at least once a year.
Does that look like a lot? Because honestly, I’m pretty lazy — so if I can get into the routine of doing this, you’ll be just fine. Feel free to reach out to us here in the comments, or on social media (@GoGoDadget everywhere) and we’d be happy to help out!